It's a snowy day in Cave City. I have a love-hate relationship with snow. I like days like today. Big, beautiful flakes of snow, falling slowly to the ground... Then MELTING! Ha! Don't get me wrong, I like the occasional foot of snow as well, but only a couple of times, then I'm ready for spring!
Today, I am enjoying the privilege of making flags while watching the snow fall outside, with the kids playing around me. Really, it doesn't get better than this!
C is watching the snow with me!
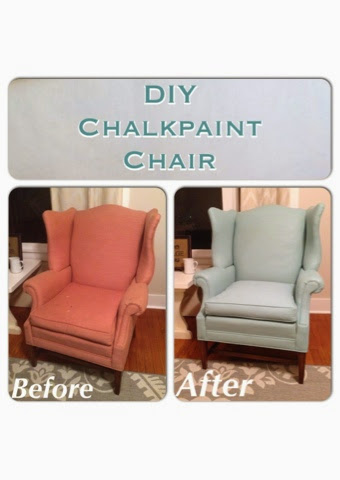
See that beautiful blue wingback chair he is standing on? Well it once wasn't so beautiful. Here is what it looked like before...
And I have two of them!
They are in great shape, but the rose pink is one of my least favorite colors. Mostly because it has haunted me my whole life! When I was a kid, my bedroom carpet was rose pink... Yikes! NOW, my master bathroom floors, walls and shower are covered in rose pink tiles! Aaahhgg! Those things aren't as easily changed as these lovely chairs.
Yes, I said easily. And rather quickly too!
It's simple. I'll break it down for you.
1. You will need your your favorite chalkpaint (bought or homemade)
I make my own. I wish I knew the source of my recipe... I have seen the same recipe on several blogs and kind of just tweaked it to my liking. I began using the calcium carbonate mixture, and I swore by it. BUT, I had a couple of pieces that didn't hold up too well. While there is a good possibility I did something wrong... maybe something to do with my two year old having a tantrum because his Scooby Doo Band-Aid fell off, or maybe because my 3 year old and 6 year old were playing superheroes and one shot the other in the face with a Nerf dart. I mean, it is quite possible that I got distracted while adding an ingredient...
Anyway, my new favorite recipe is now 3 parts paint (I use Valspar paint samples for small jobs, these chairs took several so I would have been better off buying a quart), 1 Plaster of Paris (before mixing it into the paint, make it into a paste by adding a little bit of water). It rocks! I have had nothing but good luck with this recipe so far. And it is cheaper, so win-win!
Here is where you can feel good about all the plastic whipped topping containers you kept in case you needed them... These seriously are great to mix your paint in, considering you can just pop the lid on when you are ready to call it a night and open that baby back up again when you are ready.
2. You need a cup of water. As in, a cup with water in it... not necessarily 1 Cup of water measured out... The water will be used to dip your brush in.
3. A paintbrush. I am telling you, I don't get fancy when it comes to this stuff. I used a cheap brush from those craft brush multi-packs you get at Wal-Mart or Hobby Lobby for like $4 or so. You know the ones that look like small house brushes... yep, that's what I use!
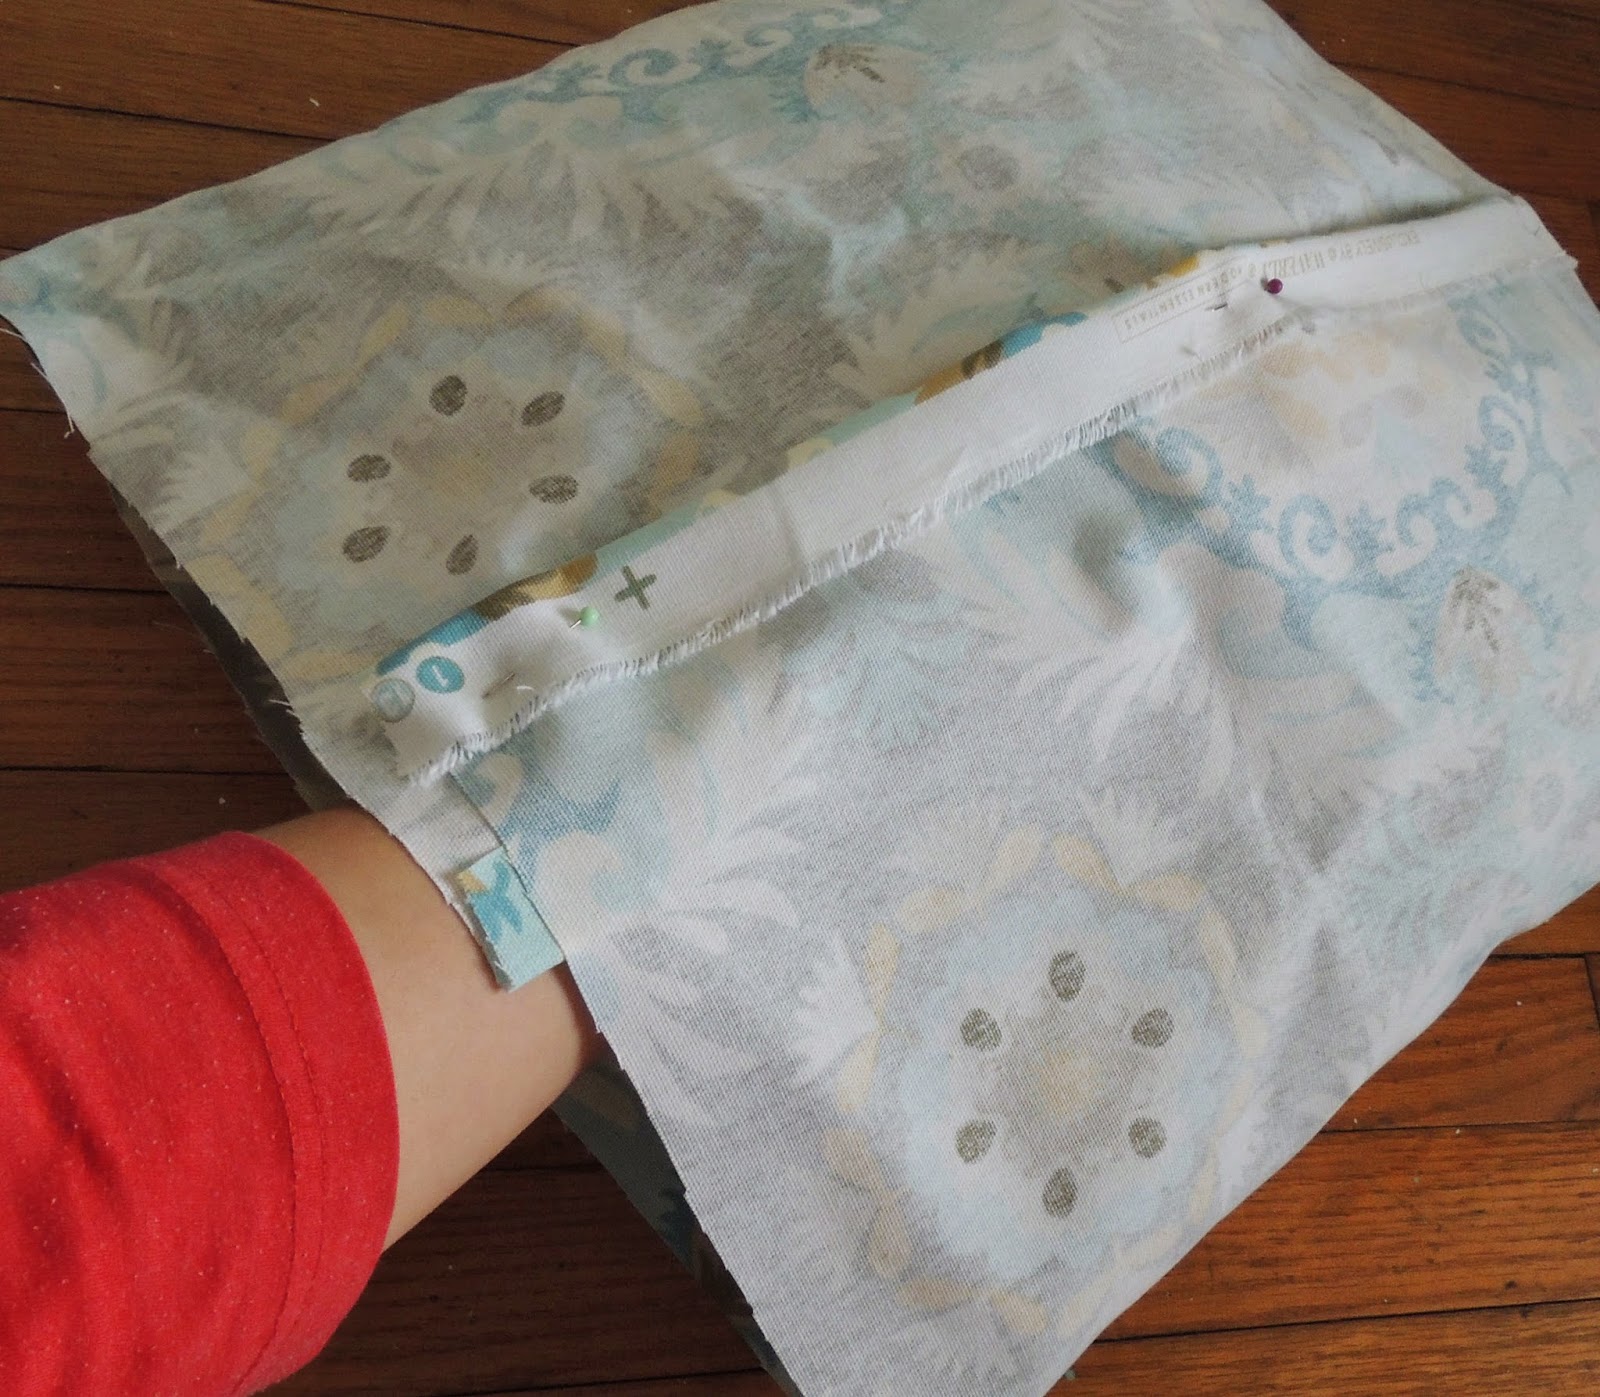
4. Either a bowl of water and sponge or wash cloth, or a squirt bottle with some water in it. I didn't have a squirt bottle, so I started with the wash cloth and water... not my favorite part of this project. However, I did get the bright idea to use a brush and try to brush on the water. It actually worked fine until I had to do the side, and the water just dripped in the floor and practically none of it went into the fabric... so I was back to square one: a wash cloth and water.
5. A drop cloth, newspapers, plastic tablecloth... etc. You're gonna want to keep this stuff off your floors. I have a spot on my hard woods to prove it. Yikes!
6. An upholstered chair. haha! I couldn't resist.
7. A sanding block or light grit sand paper.
8. Wax. I use Minwax paste finishing wax.
The fumes are harsh, so I suggest opening the windows or waxing your chair outside.
I'm going to keep this simple for you.
First, you need to get the fabric damp so that the paint will easily soak in. Start in sections so it doesn't dry before you can finish painting. Either spray the chair with your squirt bottle, making it damp, NOT WET, or you can dip your wash cloth or sponge in the water and lightly ring some of the excess water out. Wipe the chair down, using some pressure to get the water into the fabric. I will warn you, I used a wash cloth and bowl of water, and when I was finished, the water was pretty dirty. We could think of it like we are just glad to get it clean... not the fact that we had our hands in this water... ick! Hey, lets add latex gloves to the list! Yeah!
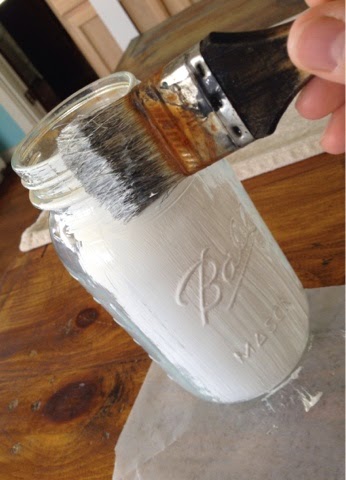
Next, you will take your paint brush and dip the tip into the chalkpaint. I'd say the bristles will be submersed about 1/4 of the way. Then quickly dip the brush into the cup of water. Let some of the excess water drip and brush it onto the damp fabric. There is no "secret" as to how you should brush it on. You will get the hang of it as you go.
Just keep brushing it on until you have a coat on the entire chair. Now let the chair dry completely. I let it dry over night. Once it is dry, use your sanding block or sand paper to lightly sand the entire chair. When you sand it, keep rubbing the fabric with your hand to see when to move on. It doesn't take much sanding at all. When you feel it, you will see exactly what I mean. Like, one or two swipes, rub with your hand... wow! Feels smooth!
After you sand it, wipe off the dust... there won't be much, and I'm not really sure wiping it is that necessary, so don't freak out if you forget.
Here is a picture of the chair after the first coat:
If you are like me, you will get so excited about the process at this point, painting the second coat will be a piece of cake.
For the second coat, you don't need to wet the chair, just paint it! Let it dry, then sand it again.
Now, wipe it down to remove any dust from sanding. Then, using either a brush or wash rag, get some wax (you will need to press into the wax to get a good amount on your rag or brush)
Rub the wax into the fabric, using a circular motion. Get into all the cracks and crevices. Allow the wax to dry maybe 10 minutes or so, then using a clean rag, buff the chair to get a smooth finish.
After the chair dries, rub it with your hand and feel the amazing smooth texture... Can you believe it!?!? My biggest fear was that it would be hard and uncomfortable and that it would crack. No way!
We have already sat in these chairs many times and they still look and feel wonderful! I am so happy with them! Thank you to all the amazing bloggers who gave me so many tips! I would have been lost without you!
So, are you going to conquer your fears and chalkpaint an upholstered chair? I say, Go For It!!
XOXO,
Ashley
**Remember, this is just a diy, please use your own discretion when doing this yourself. I am not responsible for anything that goes wrong or if it doesn't turn out the way you hoped.


